目录
- 如何搭建IdentityServer4及QuickStart UI
-
- 前言
- 首先创建空的.net core api项目
- 添加 IdentityServer4引用
- 选择IdentityServer4
- 至此IdentityServer4已经可以正常使用了,但为了方便我们一般会安装可视化组件
- 打开我们创建项目的目录
- 在地址栏输入cmd,回车。
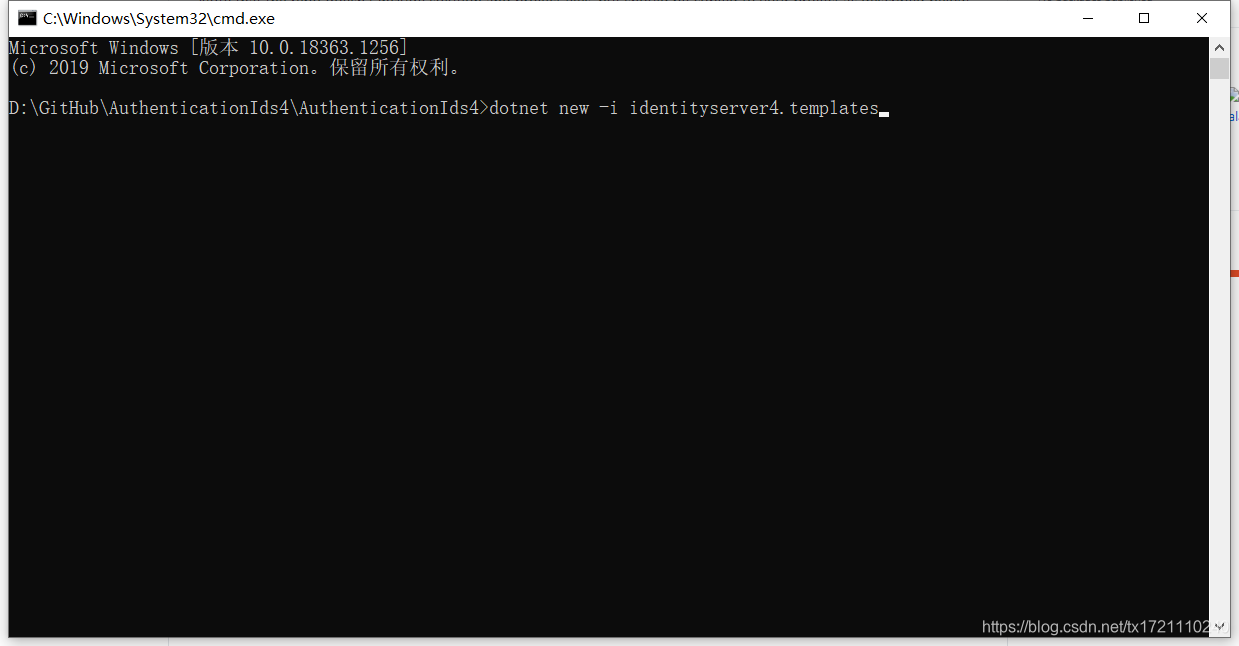
- 先输入第一个官网提供的命令:dotnet new -i identityserver4.templates,回车
- 等待自动安装完毕,然后输入第二个命令:dotnet new is4ui,回车
- 等待运行完成
- 安装完成后,我们的项目中会多很多的代码,而我们原来的项目是api,现在已经变成了mvc,所以我们处理完报错后还要再配置mvc的环境
- 打开Startup文件进行修改。
- 接下来是简单的介绍:
-
- 登录页面 http://localhost:57754/account/Login
- 账号密码及其他配置信息
- 进行简单测试:
-
- 打开登录页面,登录后见效果图
- 结束语
如何搭建IdentityServer4及QuickStart UI
前言
源码地址:GetHub地址
首先创建空的.net core api项目

添加 IdentityServer4引用

选择IdentityServer4

至此IdentityServer4已经可以正常使用了,但为了方便我们一般会安装可视化组件
在IdentityServer4 GitHub主页中,我们可以找到为.net提供的命令。下面我们来使用它

打开我们创建项目的目录

在地址栏输入cmd,回车。


先输入第一个官网提供的命令:dotnet new -i identityserver4.templates,回车
等待自动安装完毕,然后输入第二个命令:dotnet new is4ui,回车


等待运行完成

安装完成后,我们的项目中会多很多的代码,而我们原来的项目是api,现在已经变成了mvc,所以我们处理完报错后还要再配置mvc的环境

打开Startup文件进行修改。
public class Startup{public Startup(IConfiguration configuration){Configuration = configuration;}public class ClientInitConfig{/// <summary>/// 定义ApiResource /// 这里的资源(Resources)指的就是管理的API/// </summary>/// <returns>多个ApiResource</returns>public static IEnumerable<ApiResource> GetApiResources(){return new[]{new ApiResource("UserApi", "用户获取API")};}/// <summary>/// 定义验证条件的Client/// </summary>/// <returns></returns>public static IEnumerable<Client> GetClients(){return new[]{new Client{ClientId = "AuthDemo",//客户端惟一标识ClientSecrets = new [] { new Secret("zhangsan123456".Sha256()) },//客户端密码,进行了加密AllowedGrantTypes = GrantTypes.ClientCredentials,//授权方式,客户端认证,只要ClientId+ClientSecretsAllowedScopes = new [] { "UserApi" },//允许访问的资源//3.1和4.1对Claims的名称不同 3.1是Claim 4.1是ClientClaimClaims=new List<ClientClaim>(){new ClientClaim(IdentityModel.JwtClaimTypes.Role,"Admin"),new ClientClaim(IdentityModel.JwtClaimTypes.NickName,"zhangsan"),new ClientClaim("eMail","123456@qq.com")}}};}}public IConfiguration Configuration { get; }// This method gets called by the runtime. Use this method to add services to the container.public void ConfigureServices(IServiceCollection services){//services.AddControllers();services.AddControllersWithViews();#region 客户端services.AddIdentityServer().AddDeveloperSigningCredential()//默认的开发者证书 .AddInMemoryClients(ClientInitConfig.GetClients()).AddInMemoryApiResources(ClientInitConfig.GetApiResources());#endregion}// This method gets called by the runtime. Use this method to configure the HTTP request pipeline.public void Configure(IApplicationBuilder app, IWebHostEnvironment env){if (env.IsDevelopment()){app.UseDeveloperExceptionPage();}app.UseHttpsRedirection();//访问wwwroot目录静态文件app.UseStaticFiles(new StaticFileOptions(){FileProvider = new PhysicalFileProvider(Path.Combine(Directory.GetCurrentDirectory(), @"wwwroot"))});#region 添加IdentityServer中间件app.UseIdentityServer();#endregionapp.UseRouting();app.UseAuthorization();app.UseEndpoints(endpoints =>{endpoints.MapControllers();endpoints.MapControllerRoute(name: "default",pattern: "{controller=Home}/{action=Index}/{id?}");});}}
接下来是简单的介绍:
登录页面 http://localhost:57754/account/Login

账号密码及其他配置信息

进行简单测试:
打开登录页面,登录后见效果图


结束语
至此,可视化的IdentityServer4(又称QuickStart UI)就部署完毕了,大家可以查看官方提供的示例来了解这款专门为.net core打造的工具,而OAuth 2.0设计了四种模式:客户端凭证(client credentials),密码式(password),隐藏式(implicit),授权码(authorization code),最后还有混合式(hybrid)。以后的文章会一一介绍