HTML实现图片点击即可打电话
上接之前以HTML本地网页实现的联系人图片单击即可通话,虽然实现起来很容易,但是有致命的缺陷:一旦在浏览器界面点击了返回上一级,由于安卓存储问题就会无法回到下一级来恢复通讯录网页,简而言之,手一滑又需要重新设置以让浏览器显示通讯录(放在服务器上面可以解决,但是一来复杂化二来还是不能很方便一键使用)
于是有了自学安卓开发的2周时间(说是2周,可能大部分时间在摸鱼做其他事情),现将实现方法告知。(比HTMIL实现起来复杂了亿点点,但是我已经把硬骨头啃完了,照着步骤来很简单)
(p.s 问过月入上w的专业程序猿表哥,他居然没有做过离线的独立安卓程序,看来安卓越来越冷了)
https://developer.android.com/studio下载Android studio(用eclipse的大佬可以跳过这篇文章了)
1介绍安卓开发IDE——Android Studio
## 1布局
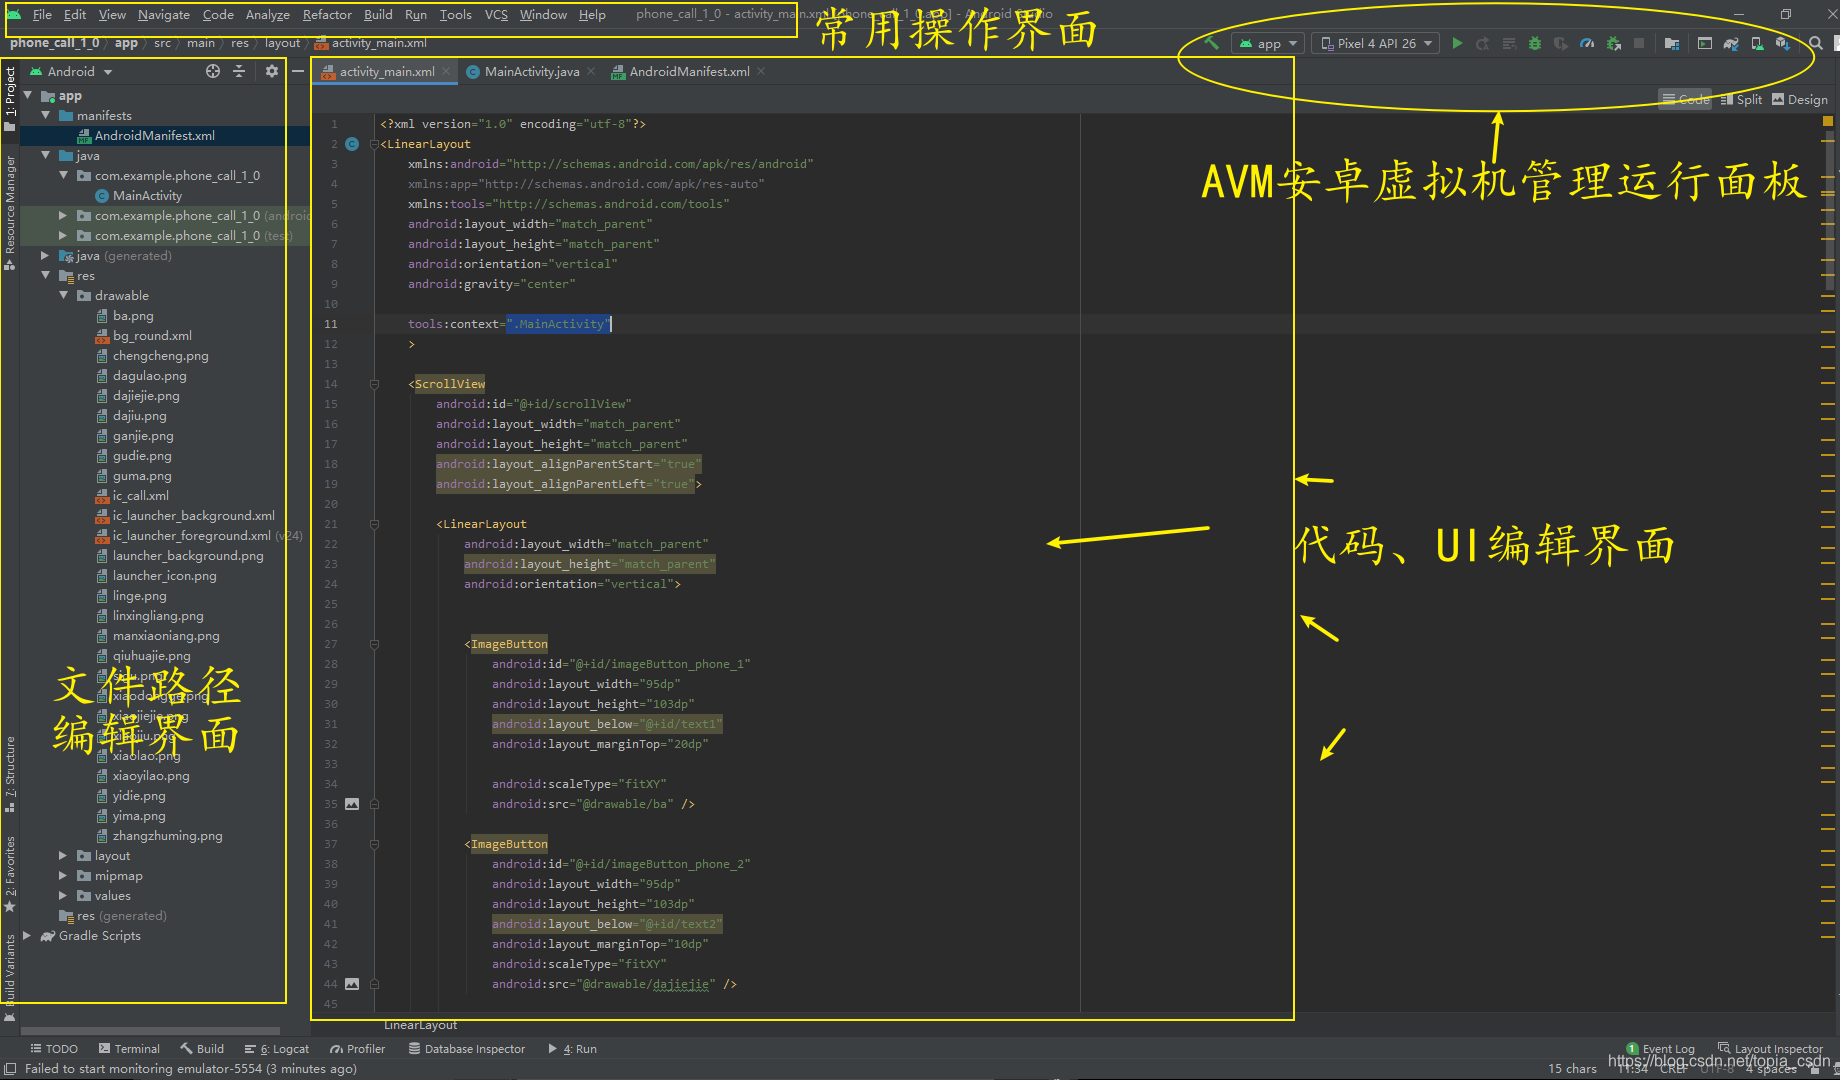
2需要注意地方
具体过程看视频
activity_main.xml
<?xml version="1.0" encoding="utf-8"?>
<LinearLayoutxmlns:android="http://schemas.android.com/apk/res/android"xmlns:app="http://schemas.android.com/apk/res-auto"xmlns:tools="http://schemas.android.com/tools"android:layout_width="match_parent"android:layout_height="match_parent"android:orientation="vertical"android:gravity="center"tools:context=".MainActivity"><ScrollViewandroid:id="@+id/scrollView"android:layout_width="match_parent"android:layout_height="match_parent"android:layout_alignParentStart="true"android:layout_alignParentLeft="true"><LinearLayoutandroid:layout_width="match_parent"android:layout_height="match_parent"android:orientation="vertical">
<!--
每个button代表一个联系人图片,图片在drawable里面事先放好后插入对应button的src的“”下,下面有示例
--><ImageButtonandroid:id="@+id/imageButton_phone_1"android:layout_width="95dp"android:layout_height="103dp"android:layout_below="@+id/text1"android:layout_marginTop="20dp"android:scaleType="fitXY"android:src="@drawable/zhangzhuming" /><ImageButtonandroid:id="@+id/imageButton_phone_2"android:layout_width="95dp"android:layout_height="103dp"android:layout_below="@+id/text2"android:layout_marginTop="10dp"android:scaleType="fitXY"android:src="@drawable/ic_call" /></LinearLayout></ScrollView></LinearLayout>
java
package com.example.phone_call_1_0;
<!--
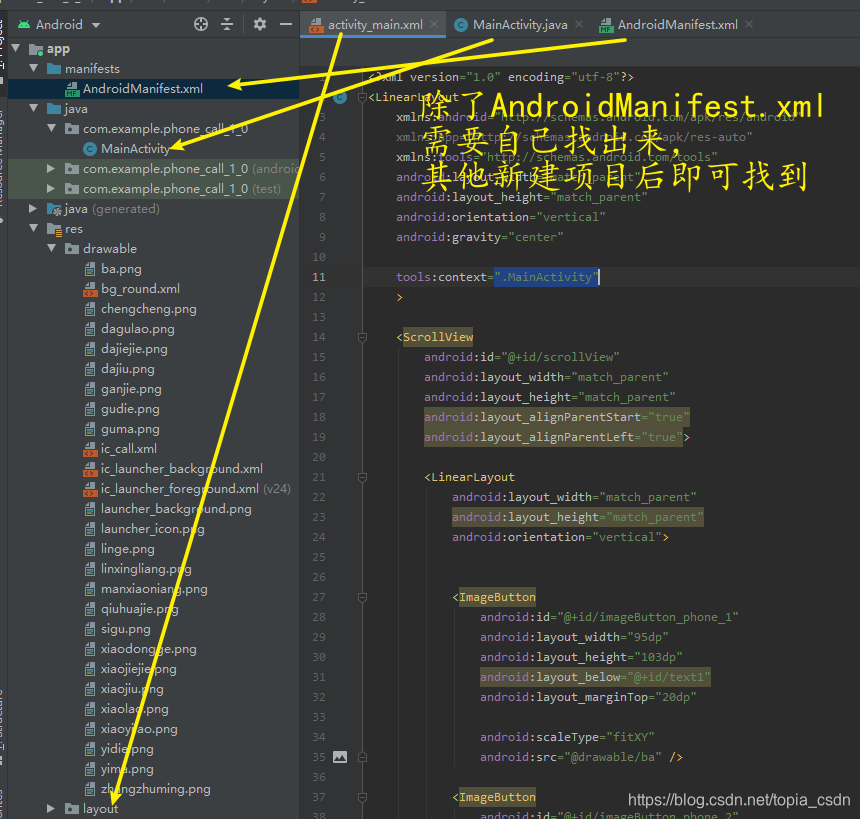
此处上面注意对应自己一开始的project命名
-->
import androidx.appcompat.app.AppCompatActivity;import android.content.Intent;
import android.net.Uri;
import android.os.Bundle;
import android.util.Log;
import android.view.View;
import android.widget.ImageButton;public class MainActivity extends AppCompatActivity {@Overrideprotected void onCreate(Bundle savedInstanceState) {super.onCreate(savedInstanceState);setContentView(R.layout.activity_main);Log.i("Activity生命周期", "onCreate()方法调用");
<!--
此处下面每一个imageButton对应一个联系人,需要自己增加,注意button的id命名
-->ImageButton imageButton1 = (ImageButton) findViewById(R.id.imageButton_phone_1);ImageButton imageButton2 = (ImageButton) findViewById(R.id.imageButton_phone_2);<!--
此处下面每一个imageButton对应都要有一个事件激发,需要自己增加,注意button的id命名
-->imageButton1.setOnClickListener(l);imageButton2.setOnClickListener(l);}View.OnClickListener l = new View.OnClickListener() {@Overridepublic void onClick(View v) {Intent intent = new Intent();ImageButton imageButton = (ImageButton)v;switch (imageButton.getId()) {case R.id.imageButton_phone_1:intent.setAction(intent.ACTION_DIAL);intent.setData(Uri.parse("tel:12345678901"));
<!--
此处每一个parse里面数字对应一个联系人
-->startActivity(intent);break;case R.id.imageButton_phone_2:intent.setAction(intent.ACTION_DIAL);intent.setData(Uri.parse("tel:12453737337"));startActivity(intent);break;}}};}android_manifest.xml
<?xml version="1.0" encoding="utf-8"?>
<manifest xmlns:android="http://schemas.android.com/apk/res/android"package="com.example.phone_call_1_0">
<!--
此处上面注意对应自己一开始的project命名
--><!--
此处下面一行获取电话权限
--><uses-permission android:name="android.permission.CALL_PHONE"/><applicationandroid:allowBackup="true"android:icon="@mipmap/ic_launcher"android:label="@string/app_name"android:roundIcon="@mipmap/ic_launcher_round"android:supportsRtl="true"android:theme="@style/Theme.Phone_call_1_0"><activity android:name=".MainActivity"><intent-filter><action android:name="android.intent.action.MAIN" /><category android:name="android.intent.category.LAUNCHER" /></intent-filter></activity></application></manifest>